vue接通后端api以及部署到服務器操作
1.打開項目工程,找到config文件夾下index.js,進行以下修改
dev: { // Paths assetsSubDirectory: ’static’, assetsPublicPath: ’/’, proxyTable: { ’/api’:{ target: ’http://www.baidu.com’,//后端api地址 changeOrigin: true, pathRewrite:{ ’^api’: ’’ } } },
2.然后打開src下App.vue文件配置默認前綴
export default { name: ’App’, created: function () { this.$http.defaults.baseURL = ’https://www.baidu.com/api’ //后端api默認前綴,每個請求都加上這個前綴訪問后臺api }}
3.打開項目工程,找到config文件夾下prod.env.js,進行以下修改
’use strict’module.exports = { NODE_ENV: ’'production'’, API_HOST: ’'http://www.baidu.com'’//后端api地址}
4.找到config文件夾下dev.env.js,進行以下修改
’use strict’const merge = require(’webpack-merge’)const prodEnv = require(’./prod.env’) module.exports = merge(prodEnv, { NODE_ENV: ’'development'’, API_HOST: ’'http://localhost:8080'’//這里是本地的訪問ip配置})
5.然后 npm run build 對項目文件進行打包,完成后在項目根目錄下生成dist文件夾,把dist文件夾上傳到服務器即可
補充知識:Vue全局變量配置(多用于調用后端API)
我們在使用Vue時,通常需要調用后端API進行一系列的操作。
下面分享一個我的配置方案。
1.變量分類配置
新建文件,加入配置內容如下:
export const apiAddress = { install(Vue){ Vue.prototype.$javaAddress = ’11’; }};export const config = { install(Vue){ Vue.prototype.$config = ’1’; }};export default { apiAddress, config };
在main.js中引入配置
import { apiAddress, config } from ’./config/address’;Vue.use(apiAddress);Vue.use(config);
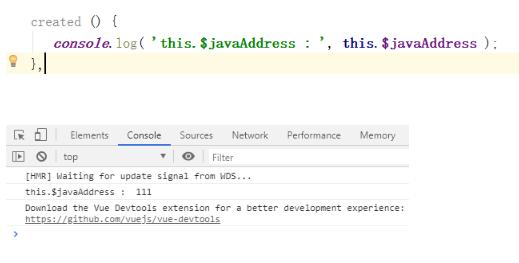
2.目前我在用的
export default { install(Vue){ Vue.prototype.$javaAddress = ’111’; }};import address from ’./config/address’;Vue.use(address);
以上這篇vue接通后端api以及部署到服務器操作就是小編分享給大家的全部內容了,希望能給大家一個參考,也希望大家多多支持好吧啦網。
相關文章:

 網公網安備
網公網安備