關于linux redis安裝及安裝遇到的問題
redis官方傳送門
Linux安裝Redis服務步驟:
獲取資源指定安裝目錄
[root@hadoop-master mnt]# mkdir reids [root@hadoop-master redis]# cd redis [root@hadoop-master redis]# wget http://download.redis.io/releases/redis-6.0.5.tar.gz [root@hadoop-master redis# tar xzf redis-6.0.5.tar.gz [root@hadoop-master redis]# cd redis-6.0.5 [root@hadoop-master redis-6.0.5]# make install PREFIX=/mnt/redis
可能會因為服務器中gcc版本的問題報錯,如遇到報錯就更新
make[1]: *** [server.o] 錯誤 1make[1]: 離開目錄“/usr/redis-6.0.1/src”make: *** [all] 錯誤 2server.c:2402:11: 錯誤:‘struct redisServer’沒有名為‘assert_file’的成員 server.assert_file = '<no file>'; ^server.c:2403:11: 錯誤:‘struct redisServer’沒有名為‘assert_line’的成員 server.assert_line = 0; ^server.c:2404:11: 錯誤:‘struct redisServer’沒有名為‘bug_report_start’的成員 server.bug_report_start = 0; ^server.c:2405:11: 錯誤:‘struct redisServer’沒有名為‘watchdog_period’的成員 server.watchdog_period = 0; ^server.c:2411:11: 錯誤:‘struct redisServer’沒有名為‘lua_always_replicate_commands’的成員 server.lua_always_replicate_commands = 1;
解決方案
[root@hadoop-master redis-6.0.5]# gcc -v # 查看gcc版本[root@hadoop-master redis-6.0.5]# yum -y install centos-release-scl # 升級到9.1版本[root@hadoop-master redis-6.0.5]# yum -y install devtoolset-9-gcc devtoolset-9-gcc-c++ devtoolset-9-binutils[root@hadoop-master redis-6.0.5]# scl enable devtoolset-9 bash以上為臨時啟用,如果要長期使用gcc 9.1的話:[root@hadoop-master redis-6.0.5]# echo 'source /opt/rh/devtoolset-9/enable' >>/etc/profile
再次執行
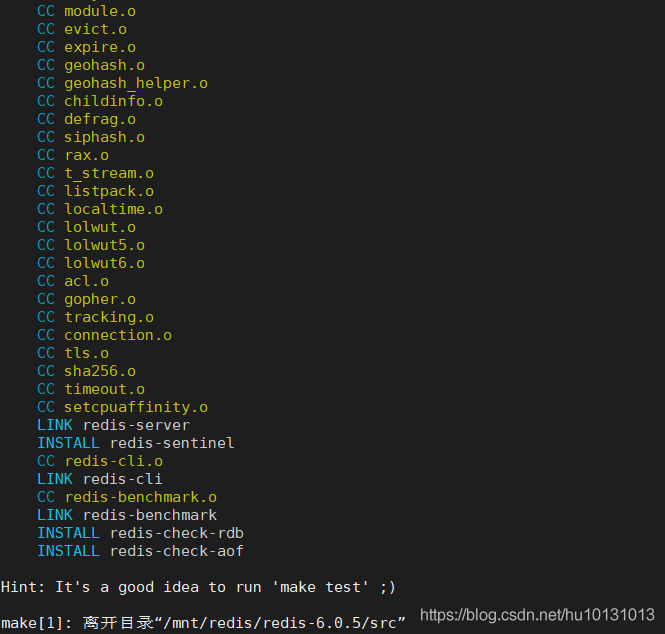
#指定安裝的位置[root@hadoop-master redis-6.0.5]# make install PREFIX=/mnt/redis
成功提示
執行make test出錯解決方案
[root@localhost redis-6.0.5]# yum install tcl[root@localhost redis-6.0.5]# make test
啟動redis
[root@hadoop-master redis]# cd /mnt/redis/bin/ #指定配置文件[root@hadoop-master bin]# ./redis-server ../redis-6.0.5/redis.conf
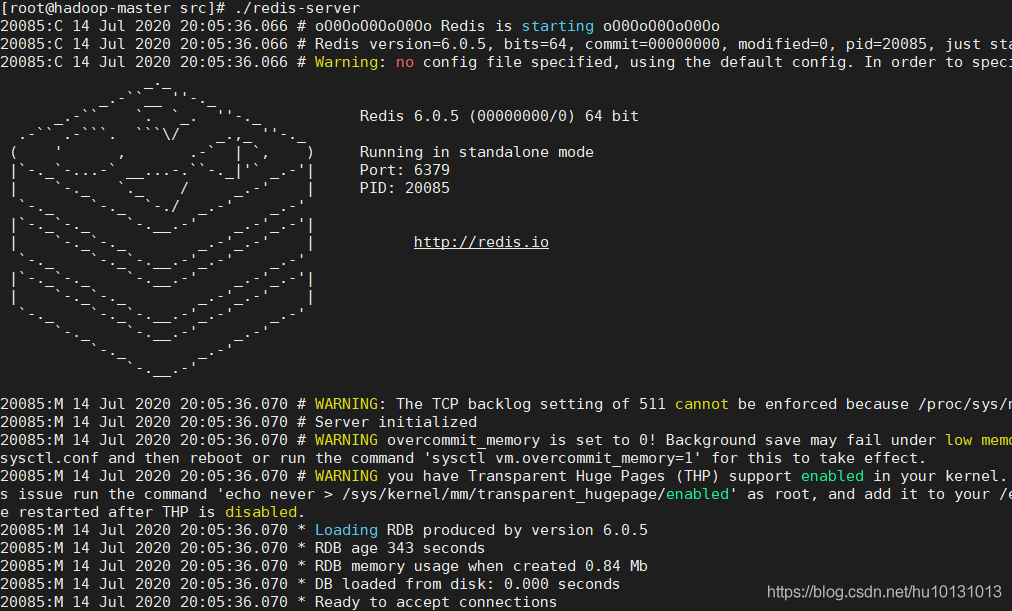
可能遇到的遇到的警告提示
# 啟動server出現的問題src/redis-server # warning 1 > 提示修改 linux內核參數# WARNING: The TCP backlog setting of 511 cannot be enforced because /proc/sys/net/core/somaxconn is set to the lower value of 128.echo 1024 >/proc/sys/net/core/somaxconn # warn 2 > 提示如下# WARNING overcommit_memory is set to 0! Background save may fail under low memory condition. To fix this issue add ’vm.overcommit_memory = 1’ to /etc/sysctl.conf and then reboot or run the command ’sysctl vm.overcommit_memory=1’ for this to take effect.echo 'vm.overcommit_memory = 1' >> /etc/sysctl.conf sysctl vm.overcommit_memory=1 # warning 3# WARNING you have Transparent Huge Pages (THP) support enabled in your kernel. This will create latency and memory usage issues with Redis. To fix this issue run the command ’echo never > /sys/kernel/mm/transparent_hugepage/enabled’ as root, and add it to your /etc/rc.local in order to retain the setting after a reboot. Redis must be restarted after THP is disabledecho never > /sys/kernel/mm/transparent_hugepage/enabled # 云服務器要注意ip要寫對,端口要開放# 虛擬機要注意防火墻要關閉 systemctl stop firewalld.service
正常啟動畫面
下面就可以盡情的去配置了。
到此這篇關于關于linux redis安裝及安裝遇到的問題的文章就介紹到這了,更多相關linux redis安裝內容請搜索好吧啦網以前的文章或繼續瀏覽下面的相關文章希望大家以后多多支持好吧啦網!
相關文章:
1. win7旗艦版密鑰激活碼大全 win7系統旗艦版激活密鑰激活碼分享2. win11藍屏提示重啟原因及解決方法3. Win10專業版藍屏重啟后進不了系統怎么回事?4. Win7如何刪除殘留的注冊表?Win7刪除殘留的注冊表方法5. 怎么在win11中設置默認瀏覽器?Win11設置默認瀏覽器詳細步驟6. Win7系統realtek高清晰音頻管理器圖標找不到了怎么恢復?7. WinXP怎樣關閉自動更新?關閉自動更新的方法8. 微軟win11新功能新界面曝光 快來看看各界面樣式9. Win7旗艦版打開策略組inetres.admx解析報錯的解決方法10. Win7 Documents and Settings文件夾拒絕訪問怎么辦?

 網公網安備
網公網安備