Android Studio實現(xiàn)搜索欄
前言
一、何為自定義控件?系統(tǒng)自帶的控件都是直接或間接繼承自View的,View是Android中最基本的UI組件庫。當系統(tǒng)的自帶控件無法滿足需求時,依據(jù)控件的繼承結構來制作自定義控件,例如:頂部搜索欄
二、制作步驟1.引入布局
如果在每一個Activity的布局中都編寫一個搜索欄,會導致代碼的重復。通過采用引入布局的形式,可以解決這個問題。首先在layout目錄下創(chuàng)建一個select.xml布局,代碼如下:
<?xml version='1.0' encoding='utf-8'?><LinearLayout xmlns:android='http://schemas.android.com/apk/res/android' android:orientation='horizontal' android:layout_width='match_parent' android:layout_height='50dp' android:background='@drawable/back001'> <ImageViewandroid: android:layout_marginTop='2dp'android:layout_width='46dp'android:layout_height='41dp'android:src='http://www.piao2010.com/bcjs/@drawable/select_photo01' /> <EditTextandroid: android:layout_marginTop='6dp'android:layout_width='250dp'android:layout_height='35dp'android:layout_marginLeft='10dp' <!--采用edittext_shap01樣式-->android:background='@drawable/edittext_shape01'/> <ImageButtonandroid: <!-- 清除按鈕背景--> android:layout_marginTop='0dp'android:layout_width='53dp'android:layout_height='50dp' <!-- fitXY 的作用是“保持圖片長寬比例”-->android:scaleType='fitXY'android:src='http://www.piao2010.com/bcjs/@drawable/select_photo02' /></LinearLayout>
2.布局解析
此處對上方的布局進行補充:
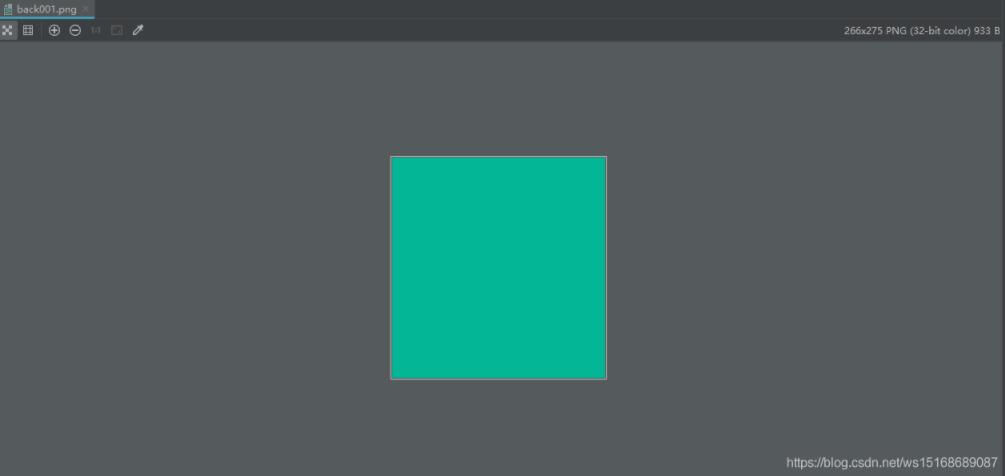
1).設置布局背景為back001
android:background='@drawable/back001'
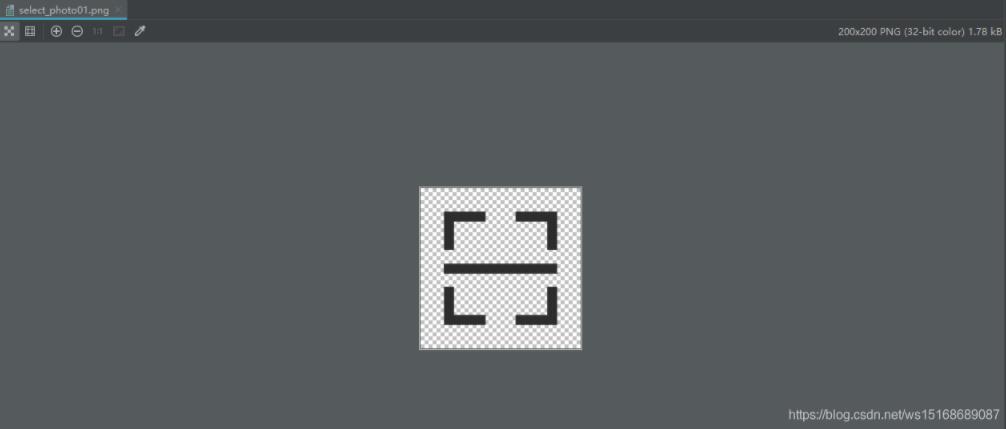
2).導入圖片select_photo01
為了使搜索欄不單調,故導入圖片裝飾
android:src='http://www.piao2010.com/bcjs/@drawable/select_photo01'
 3.
3.
3.采用edittext_shape01樣式
系統(tǒng)自帶的EditText僅是一條直線,此處將其變成圓型輸入框
android:background='@drawable/edittext_shape01'
變化前:

變化后:

edittext_shape01代碼如下:
<?xml version='1.0' encoding='utf-8'?><shape xmlns:android='http://schemas.android.com/apk/res/android' android:shape='rectangle' > <solidandroid:color='#FFFFFF' > </solid> <!-- 設置圓角 --> <cornersandroid:radius='3dp'android:bottomLeftRadius='15dp'android:bottomRightRadius='15dp'android:topLeftRadius='15dp'android:topRightRadius='15dp' > </corners> <!-- 設置邊框 --> <stroke android: android:color='#ff000000' /></shape>
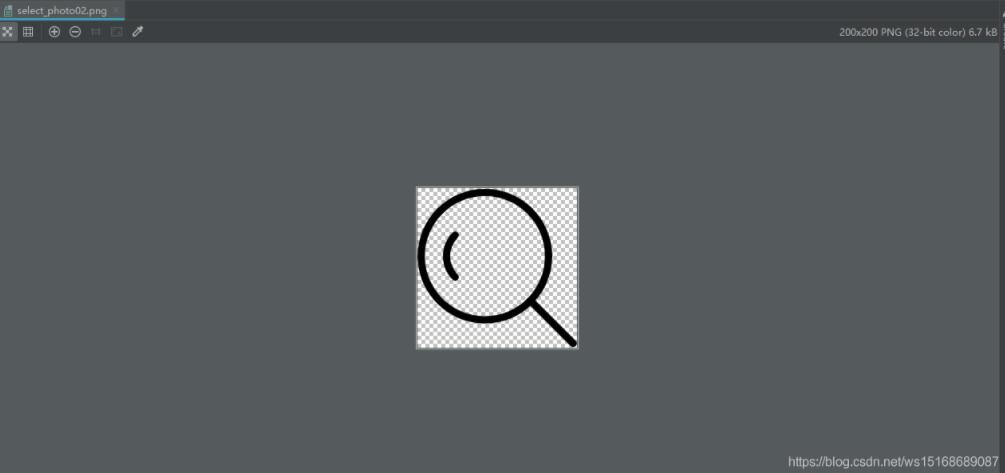
4.導入圖片select_photo02裝飾
android:scaleType='fitXY'android:src='http://www.piao2010.com/bcjs/@drawable/select_photo02'
注:fitXY較為重要!
測試
完成布局的編寫后,便可以將select01作為自定義控件,進行調用:
<include layout='@layout/select01' />
只需要通過一行include語句,便可以引入搜索欄布局
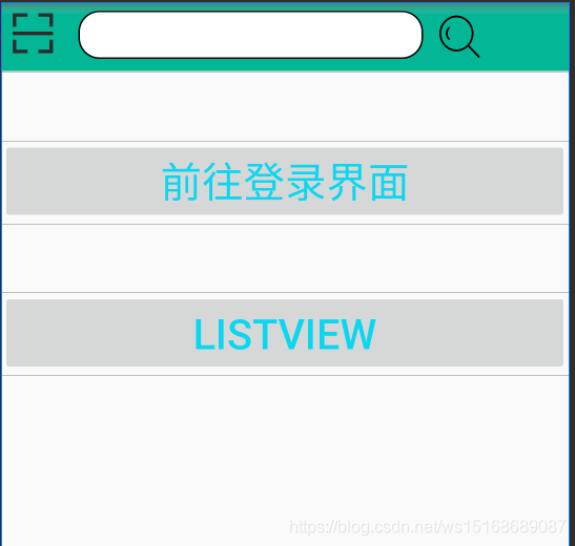
引入前后對比:
引入前
引入后
以上就是本文的全部內容,希望對大家的學習有所幫助,也希望大家多多支持好吧啦網(wǎng)。
相關文章:
 網(wǎng)公網(wǎng)安備